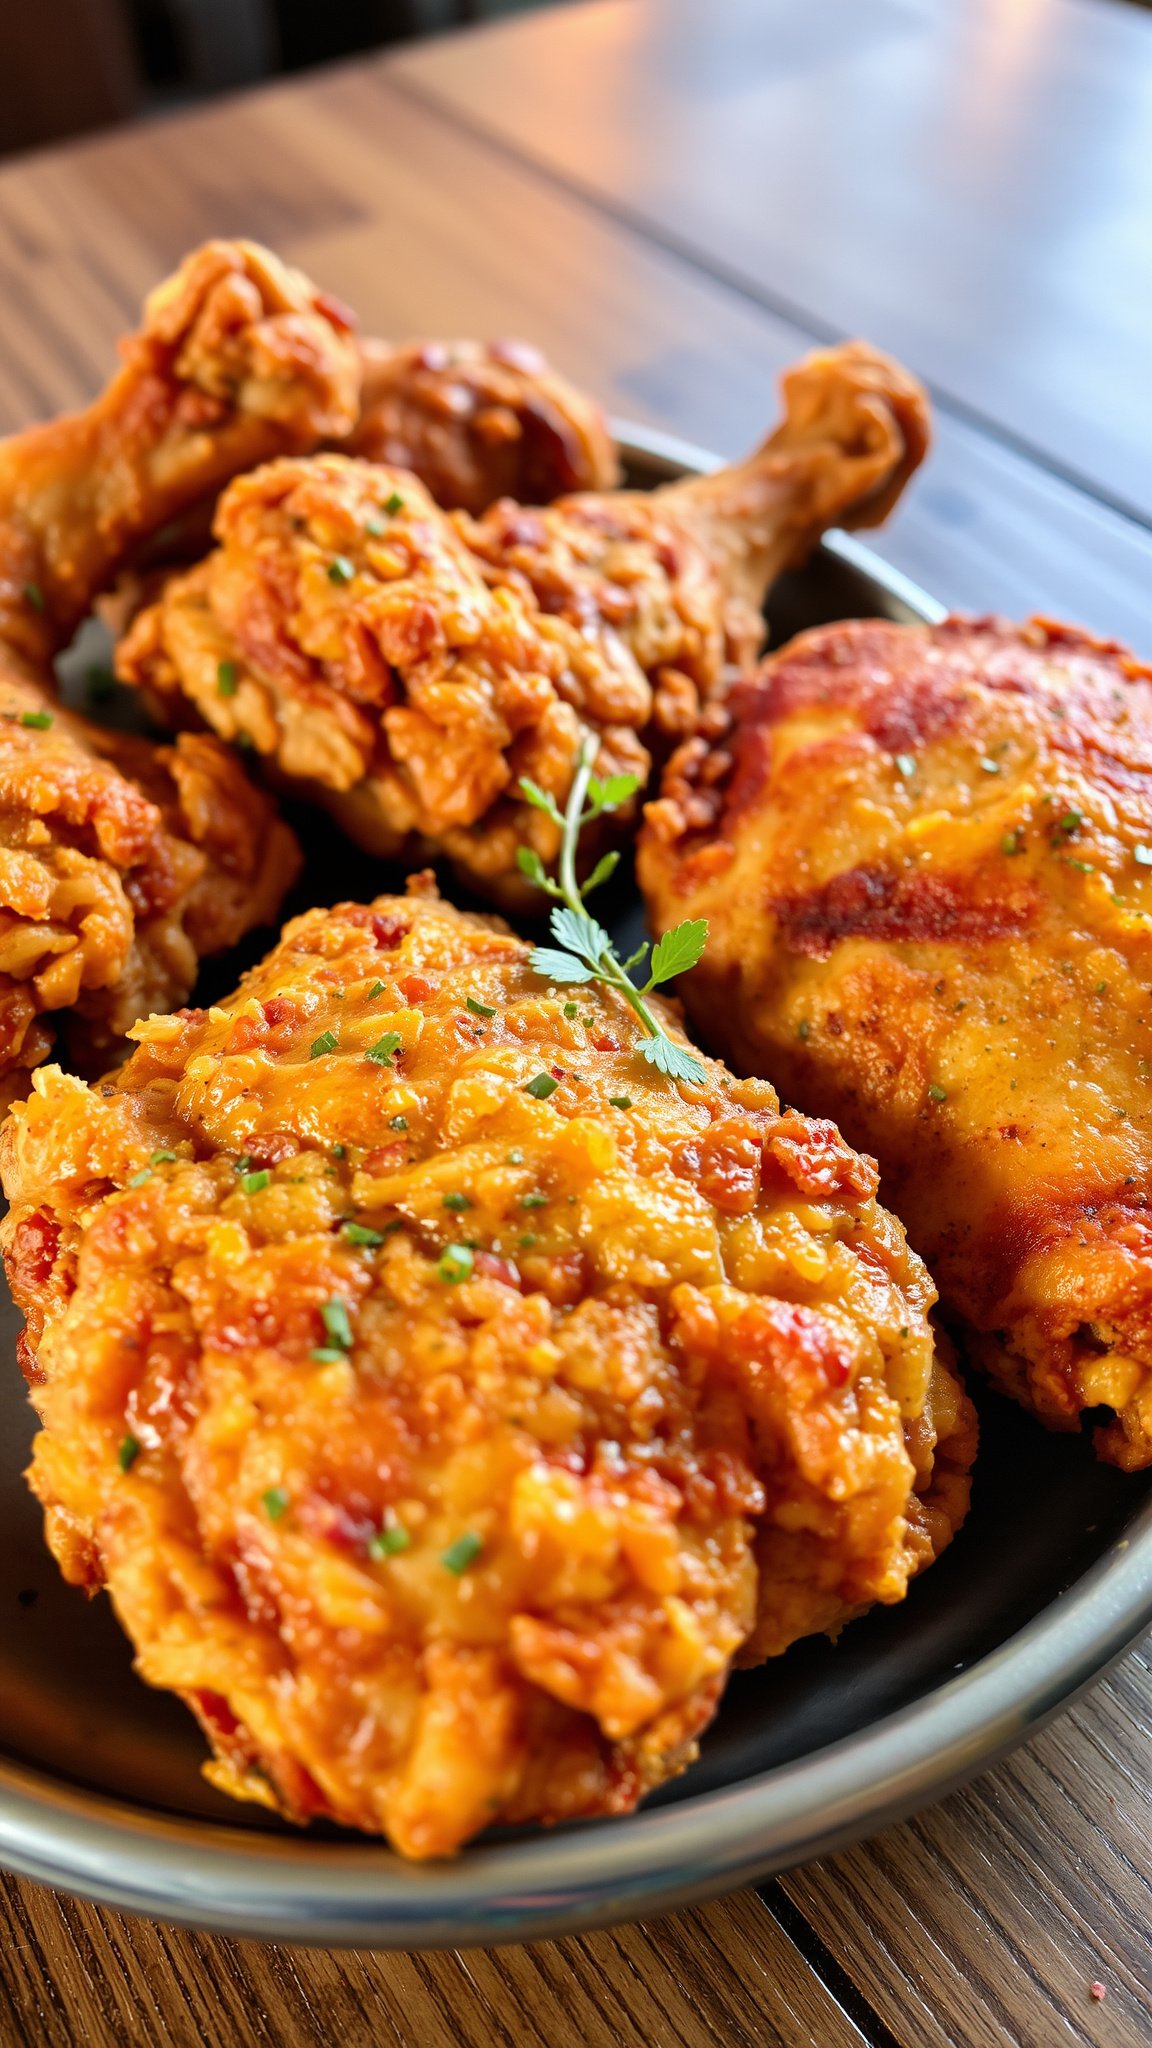
When it comes to comfort food, few dishes can compete with crispy buttermilk fried chicken. A staple in Southern cuisine, this dish has captured the hearts and taste buds of people around the world. While takeout options are convenient, nothing quite compares to the homemade version that you can whip up in your kitchen. In this article, we will explore the secrets to achieving that *perfectly crispy* exterior while keeping the meat tender and juicy inside. With the right techniques and ingredients, your fried chicken will not only rival takeout but can also become a family favorite.
Understanding the Buttermilk Marinade
The foundation of flavorful fried chicken lies in the marinade, and buttermilk is the star ingredient. The acidity in buttermilk helps to tenderize the chicken, resulting in a juicy and flavorful bite.
Why Buttermilk Works
Buttermilk is lauded for its ability to break down proteins, making the chicken more tender. Additionally, it adds a subtle tanginess that enhances the overall flavor profile. Here are some key reasons why buttermilk is essential:
- Tenderizing Effect: The acids in buttermilk help to break down the meat fibers.
- Flavor Infusion: It allows spices and seasonings to penetrate the chicken deeply.
- Moisture Retention: Buttermilk helps keep the chicken moist during the cooking process.
How to Prepare the Marinade
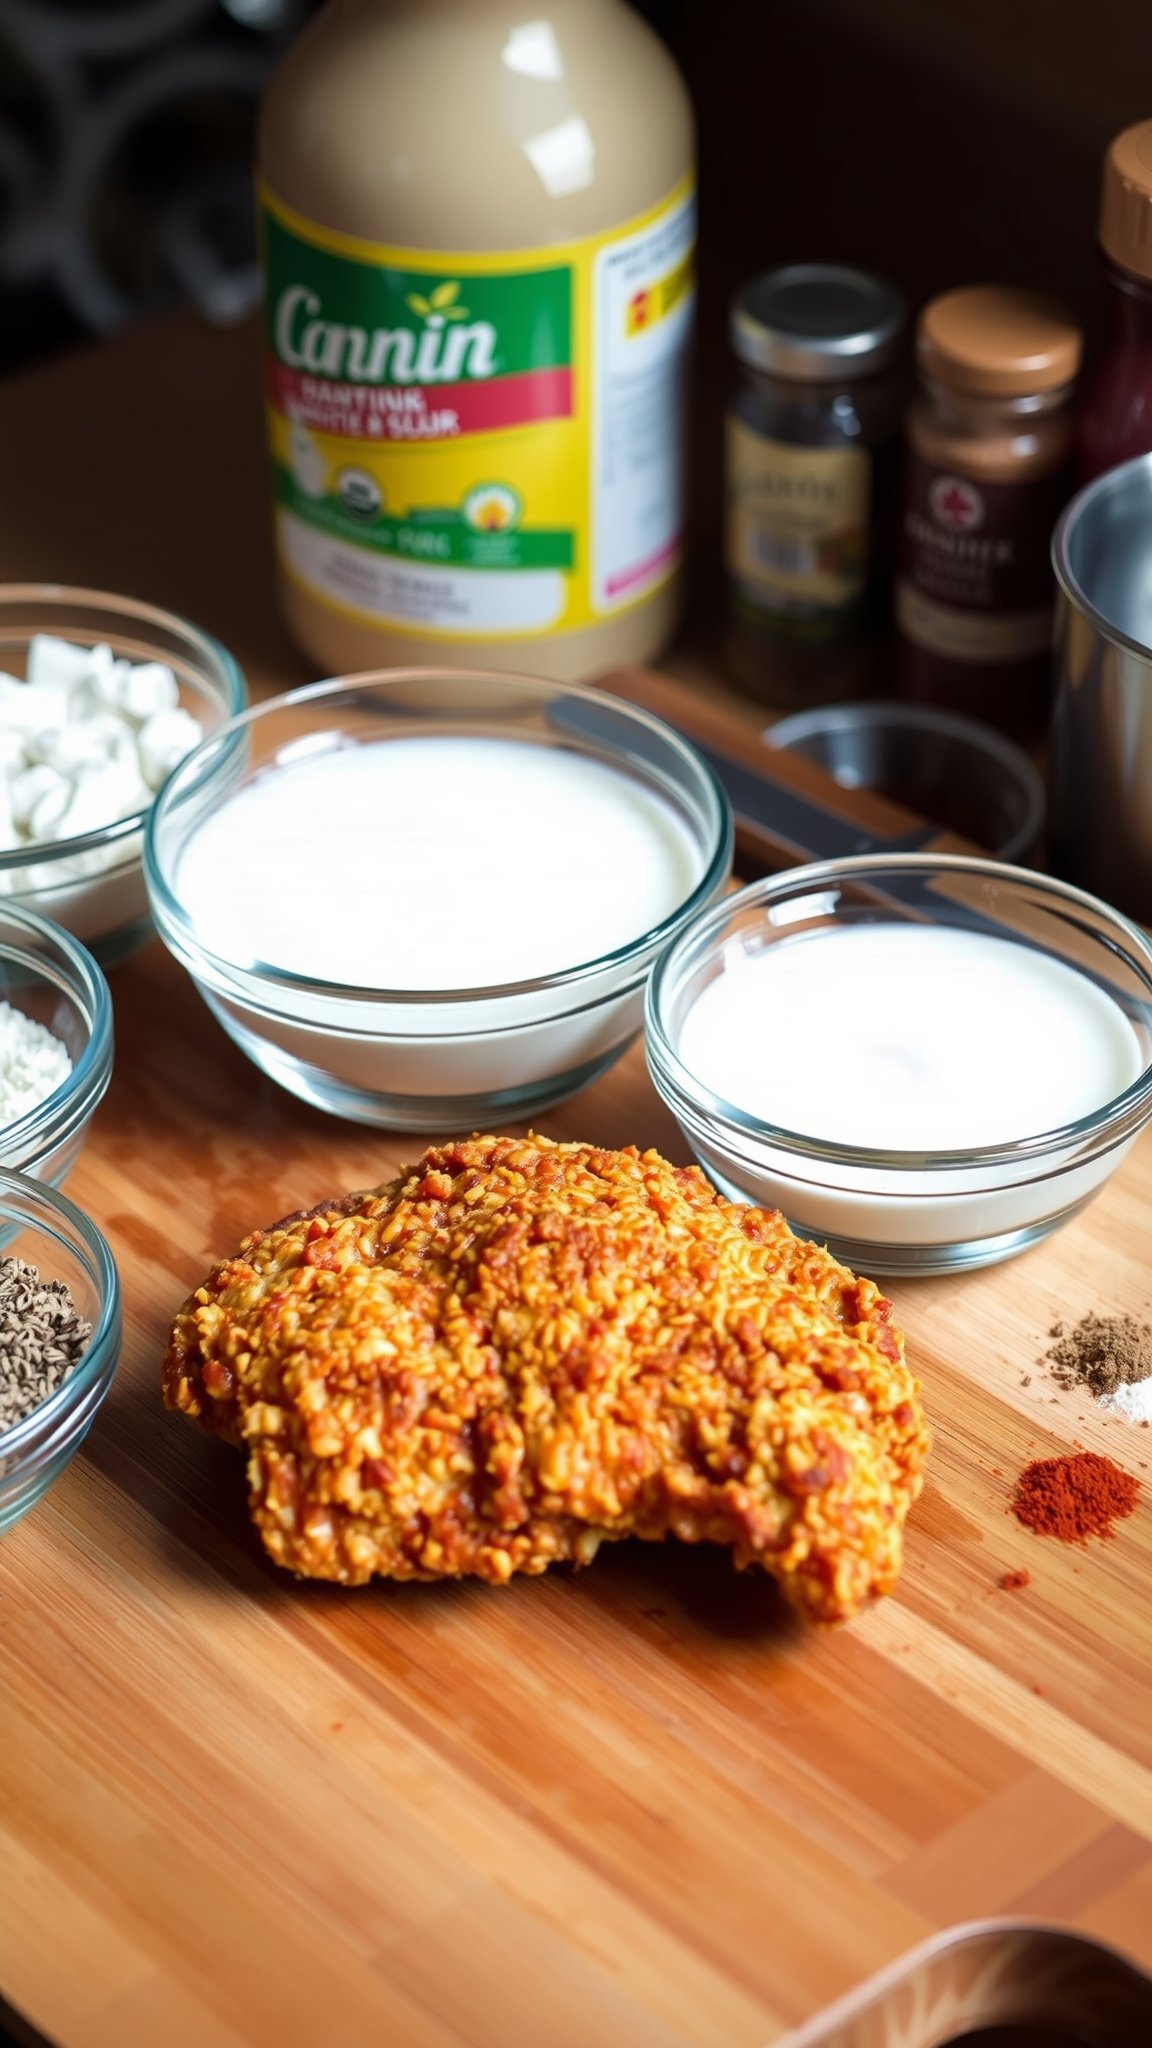
Making a buttermilk marinade is simple and requires minimal ingredients. Here’s a basic recipe:
- 1 cup of buttermilk
- 1 tablespoon of hot sauce (optional for a kick)
- 1 teaspoon of garlic powder
- 1 teaspoon of onion powder
- 1 teaspoon of salt
- 1/2 teaspoon of black pepper
Combine all ingredients in a bowl and whisk until well mixed. Submerge your chicken pieces in the marinade, cover, and refrigerate for at least 4 hours, or preferably overnight for maximum flavor.

Choosing the Right Chicken Cuts
When it comes to fried chicken, the cut of meat you choose can significantly affect the final result. While you can use any part of the chicken, some cuts are better suited for frying.
Recommended Cuts for Frying
- Chicken Thighs: Known for their rich flavor and tenderness, thighs stay juicy even when fried.
- Drumsticks: They are easy to handle and have a good amount of meat.
- Chicken Breasts: While they can dry out if overcooked, they provide a lean option if cooked properly.
The Coating Process
The coating is what gives fried chicken its delicious crunch and flavor. A well-executed breading process is essential for achieving that *crispy texture* that everyone loves.
Creating the Perfect Breading
The classic breading method involves three steps: dredging in flour, dipping in buttermilk, and coating in seasoned flour. Here’s how to do it:
Prepare a seasoned flour mixture by combining 2 cups of all-purpose flour with spices such as: 1 tablespoon salt 1 tablespoon paprika 1 teaspoon cayenne pepper 1 teaspoon black pepper 1 teaspoon garlic powder
Remove the chicken from the marinade, allowing excess buttermilk to drip off. Dredge each piece in the seasoned flour, pressing down to ensure a thick coat. For extra crunch, repeat the dipping process in buttermilk and then in flour again.
Frying Techniques
Frying chicken can be intimidating, but with the right techniques, you can achieve restaurant-quality results at home. The goal is to cook the chicken thoroughly while maintaining that crispy coating.
Choosing the Right Oil
For frying, it’s essential to select an oil with a high smoke point. Some good options include:
- Peanut Oil: Known for its high smoke point and neutral flavor, making it ideal for frying.
- Canola Oil: Another great option that provides a light flavor and high smoke point.
- Vegetable Oil: Widely available and suitable for frying.
Frying Process
To fry your chicken:
- Heat oil in a deep skillet or Dutch oven to 350°F (175°C).
- Carefully add chicken pieces, ensuring not to overcrowd the pan.
- Fry for about 10-15 minutes per side, depending on the size of the pieces, until golden brown and the internal temperature reaches 165°F (75°C).
- Use a thermometer to ensure accuracy and maintain oil temperature by adjusting the heat as necessary.
Serving Suggestions
Once your crispy buttermilk fried chicken is ready, the next step is to serve it right. There are so many delicious sides that pair beautifully with this dish.
Classic Side Dishes
- Coleslaw: The crunch and tanginess of coleslaw complement the rich flavor of fried chicken.
- Biscuits: Flaky biscuits are perfect for mopping up any leftover juices.
- Mashed Potatoes: Creamy mashed potatoes add comfort to your meal.
Conclusion
Making crispy buttermilk fried chicken at home is a rewarding experience that delivers a delicious meal that beats takeout. With a well-prepared buttermilk marinade, the right chicken cuts, and proper frying techniques, you can create an irresistible dish that your family and friends will love. Whether for a casual dinner or a special occasion, this homemade fried chicken is sure to impress. So roll up your sleeves, gather your ingredients, and get ready to enjoy a meal that rivals any restaurant offering.